
Open the wizard
ChooseFile > Setup Wizard…. You can run it again at any time, for example after you add new devices or services. On iOS (Coming Soon), use the ellipsis menu.
Free and Pro users see their own sequence of steps.
The steps
1
Welcome
The first screen previews what the wizard covers: connecting services, finding devices on your network, and building your first layout. Choose 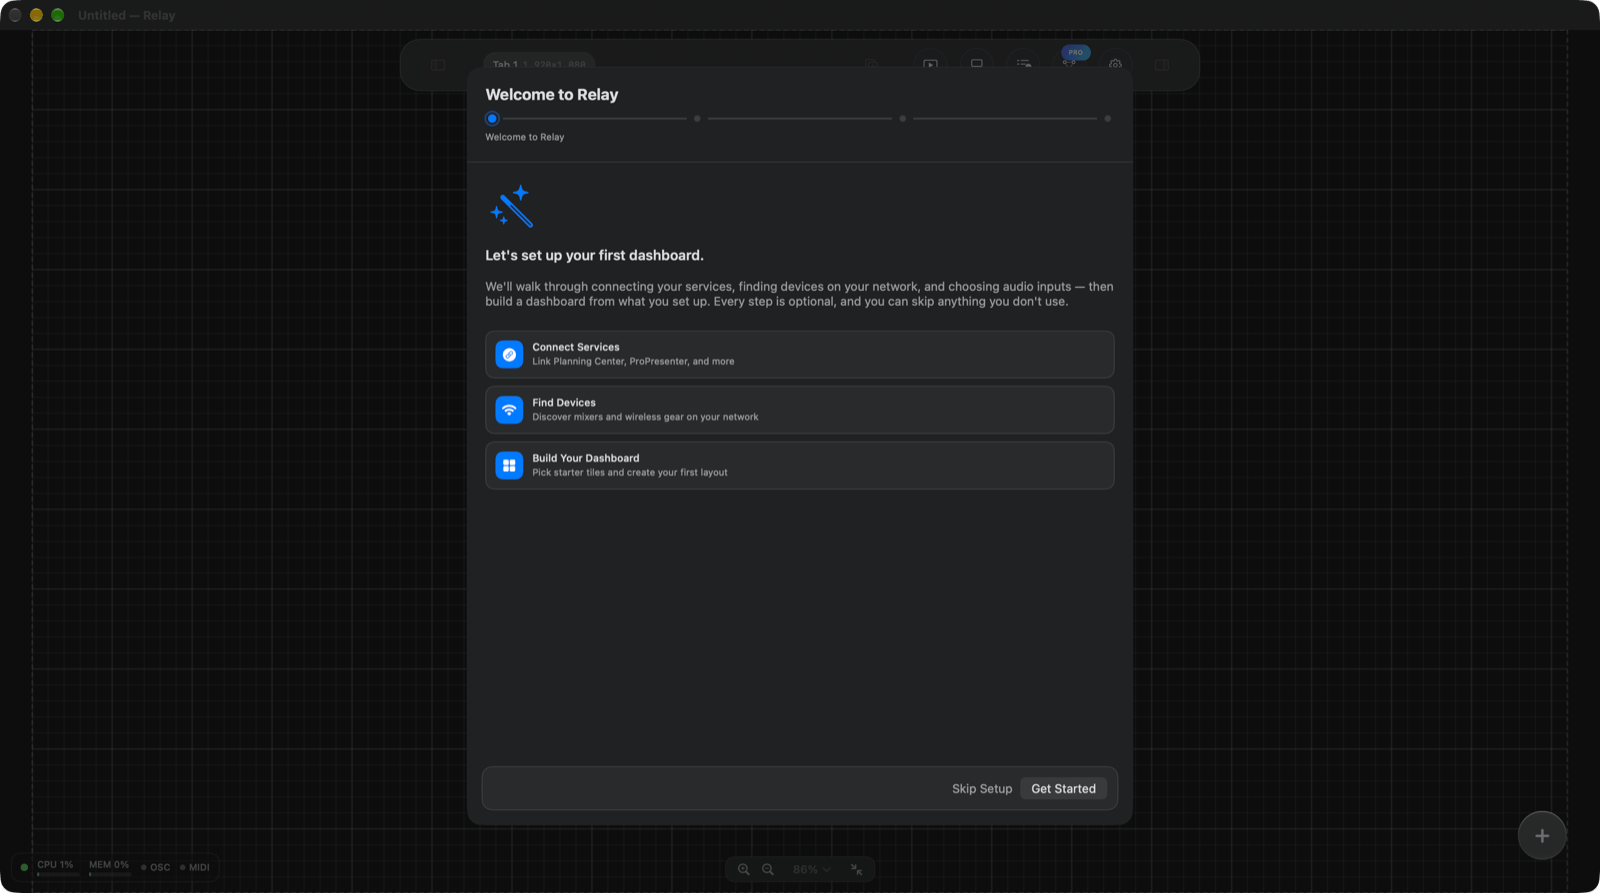
Get Started to begin, or Skip Setup to close the wizard.2
Connect your services
Link the services you use. Planning Center syncs service plans and schedules. ProPresenter controls slides and media playback and requires Relay Pro.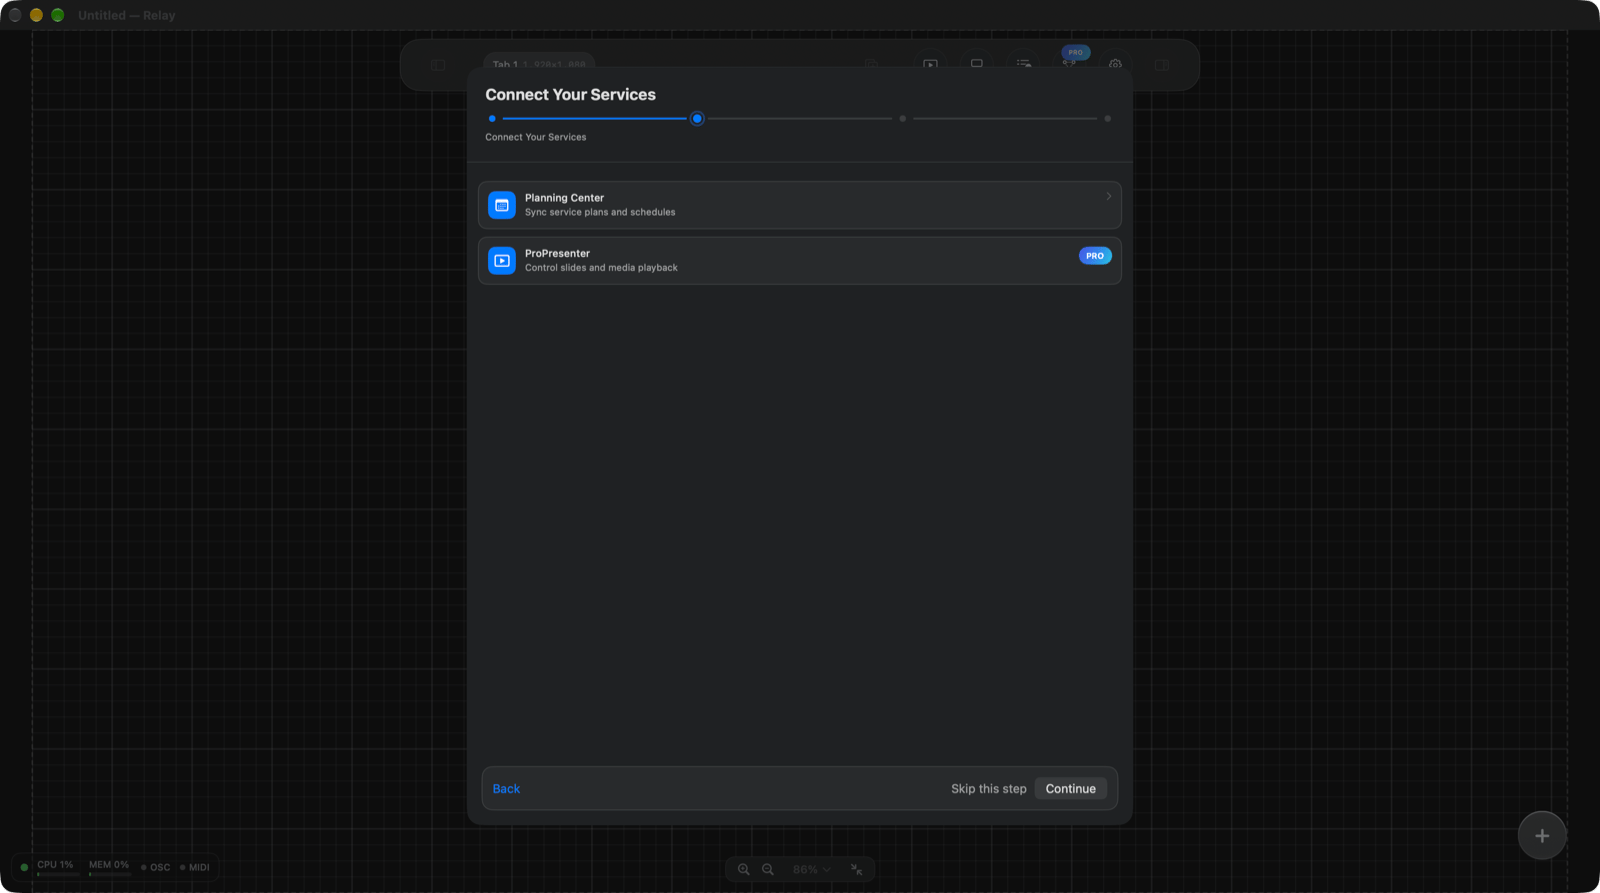
Skip this step if you don’t use either.3
Choose starter tiles
Tick the tiles you want, such as PCO Rundown, PCO Team Assignments, Roster Team Assignments, Person, Text, Image, Picker, Document, Webpage, or Time. A live layout preview on the right updates as you choose, so you can see how the tiles will sit on the canvas before you continue.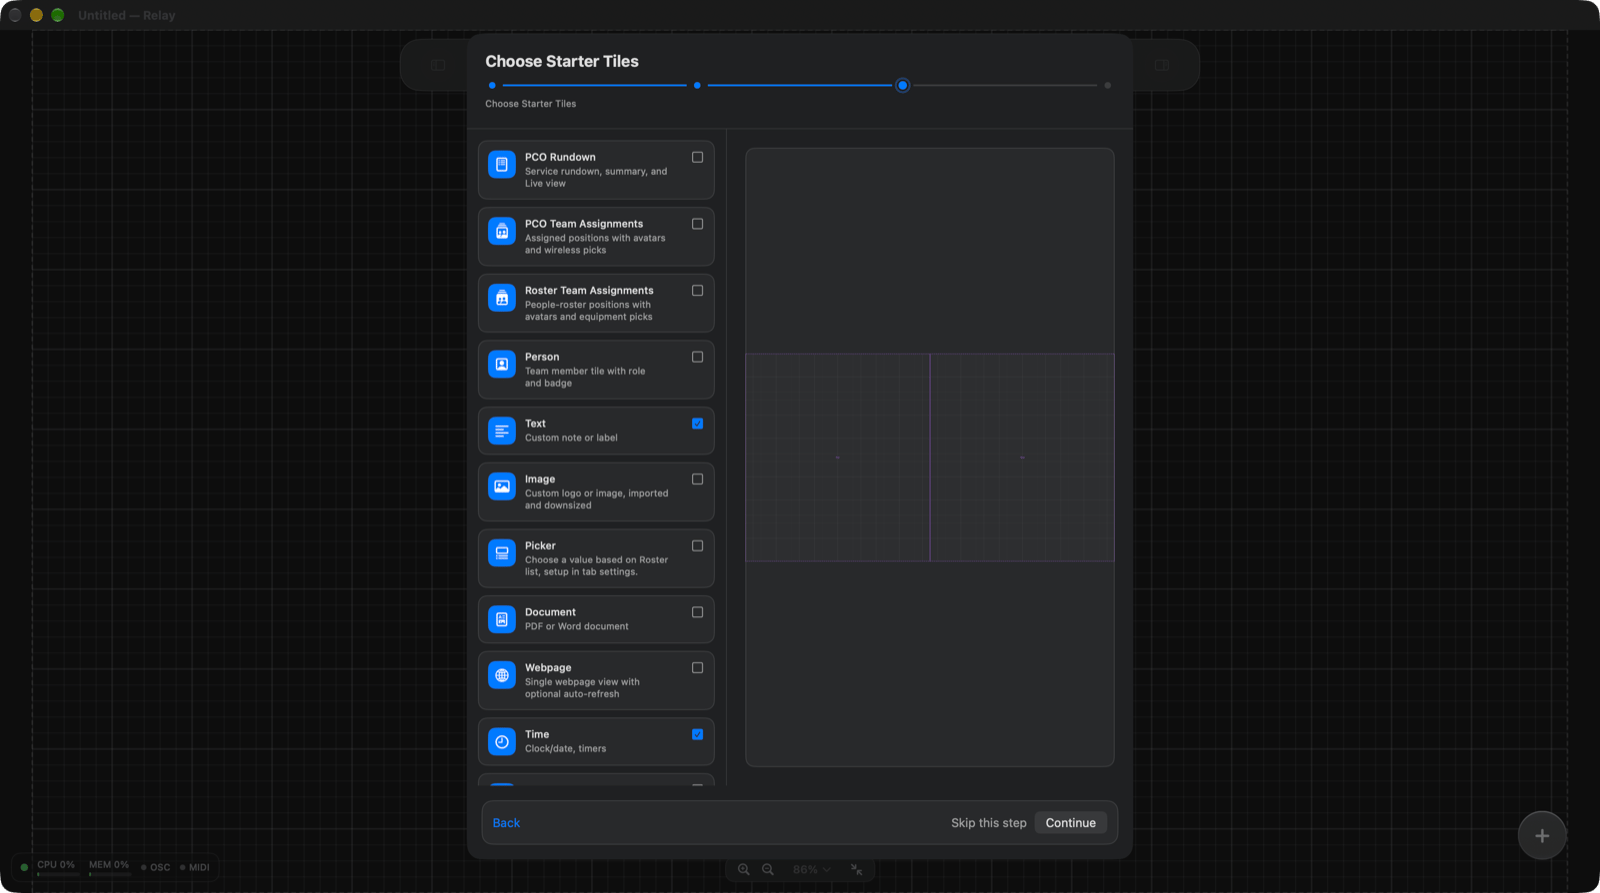
4
Review and create your dashboard
Name your dashboard (the default is “Dashboard 1”), review the tiles, and choose
Create Dashboard. Wireless devices Relay knows about are listed here as wireless mic and IEM status tiles, each with its own checkbox, so you can leave out any you don’t want.Back on any step to change an earlier choice.
After the wizard
- Fine-tune your layout with Tiles.
- Add more modules as your needs grow.
- Review Core concepts if any terms are new.
- If a device wasn’t found, add it manually under Integrations.